This post is intended to be educational only. If you try something similar and your wing fails and you die, it's not my fault. Also, please spare me any comments about how this is going to kill me unless they are pointing out a specific design fault. Thanks.
With that out of the way, I decided to make myself a new sidemount wing. My first one was kind of a knock off of the MSR bag style, my second one was more like the one UTD sells. It worked fine, but didn't have enough lift for steel 100's. So I decided to make myself a new one that would give me enough lift for some steels.
For the material, I used some 430 denier Heat sealable packcloth from Seattle Fabrics. I used this stuff for my previous two BC's, and for some SMB's that I've made.
http://www.seattlefabrics.com/nylons.ht ... 0packcloth
I got the grommets, webbing and bungee from the same place.
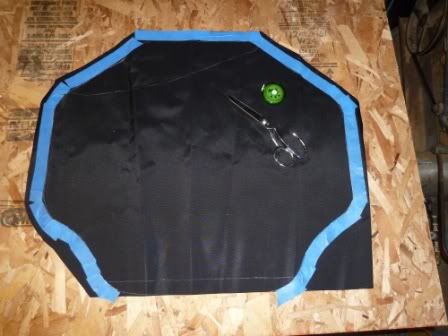
Start with a piece of cardboard a little bigger then the wing you want to make. Failing that, start taping pieces together until they are big enough.
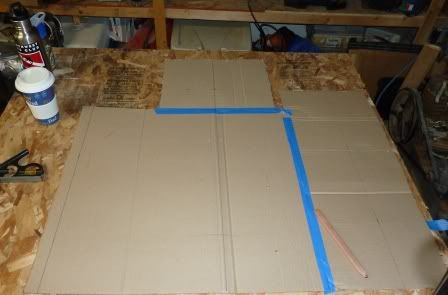
Draw the outline, and cut out the template.
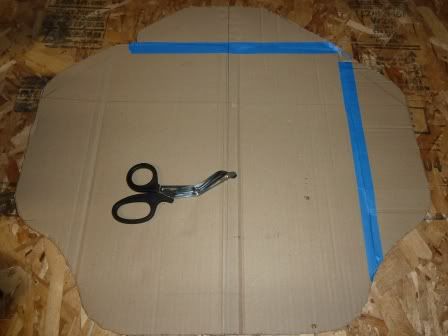
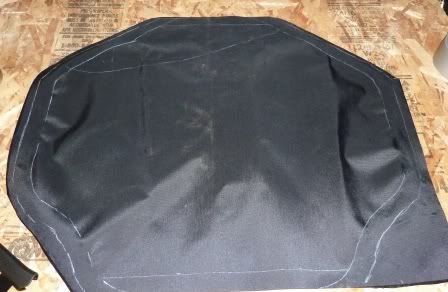
Fit the template to the wing to see how it’s going to look.
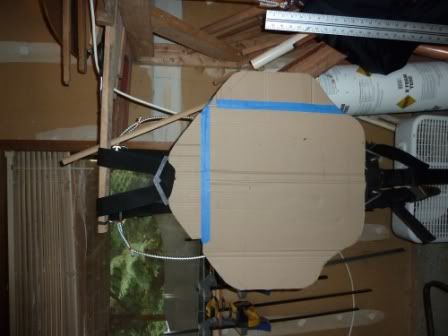
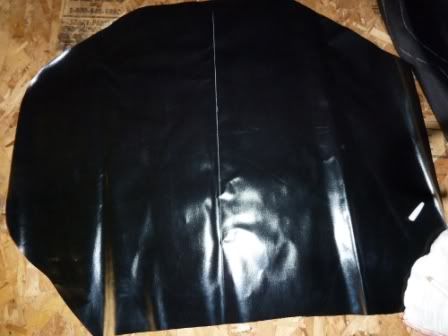
This is my old wing layed on top of the new one. The outline is only a little bigger, but the old one is pinched in the middle, making a donut type wing. The new one will not have that, it will use baffles to shape the wing.
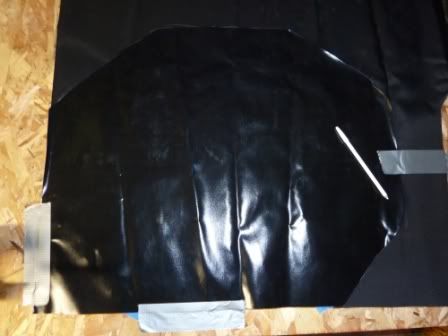
Transfer the template to the fabric using 1” tape and a fabric pencil. This gives the 1” extra that will be used to heat seal around the shape.

Once that is done, cut out the fabric.
Save any scraps of fabric for testing.

Turn the fabric cut out over onto the main sheet of fabric so that the outsides are facing each other. Trace around the cut out with a fabric pencil and cut out the shape.
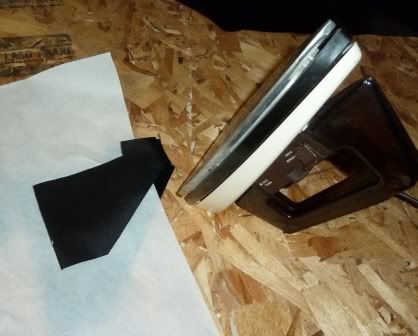
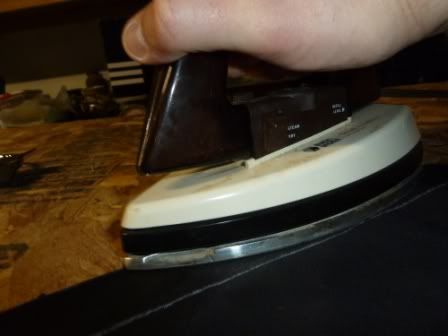
Take some of the scraps, and practice sealing them together. The iron can’t be too hot, or it will melt the fabric, and it can’t be too cool, or it won’t give a good bond. It takes a bit to get the right heat setting. Pressure is also really helpful. Parchment paper can be used as a heat shield for the parts you don’t want stuck together.
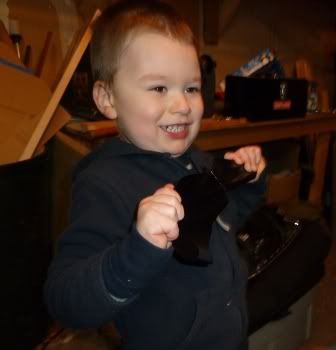
Try the toddler test to be sure you got a good bond.
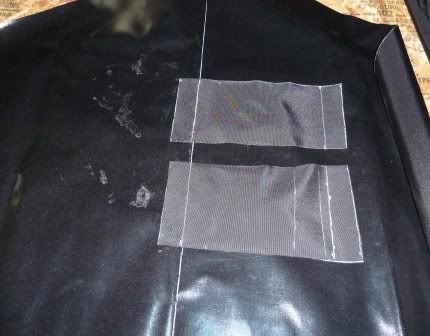
Now mark a centerline on the inside of both sides.
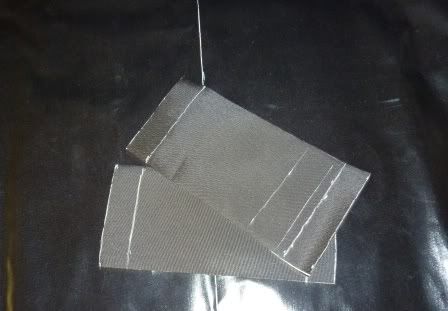
Cut some strips from the cut out scraps to make baffles. (Mine were 7”, 4” would have been better)
Use parchment paper as a heat shield and bond the strips next to the centerline mark.
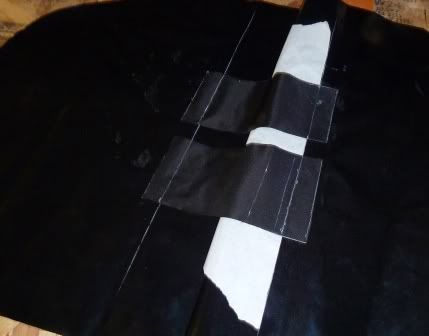
Position the other side carefully, and again using parchment paper bond the baffles on the side of the centerline.
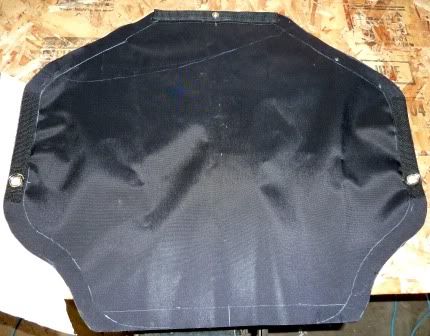
You’re now ready to seal the edges. Lay the wing flat and keep the edges even. Leave the bottom edge open for now.
Use the heat setting determined earlier and good steady pressure. You may need to go over the edges several times.
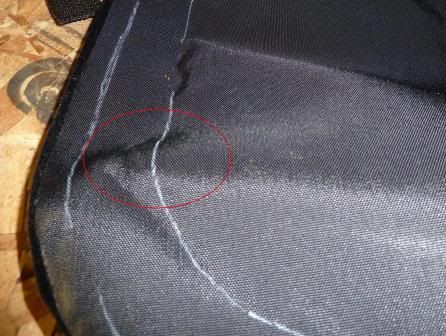
Reach in through the unsealed bottom edge, and feel around for any place where the bond wasn’t even. Fix these by going over them with the iron again.
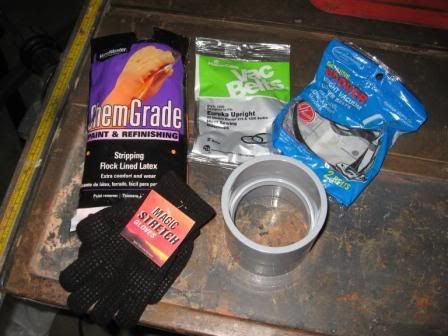
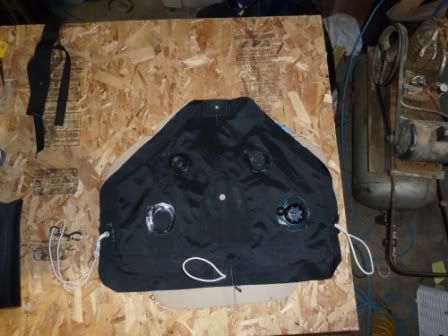
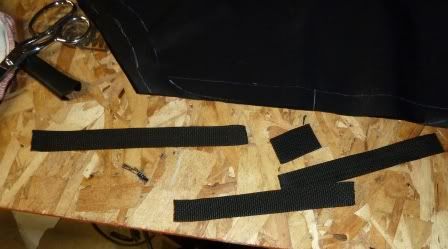
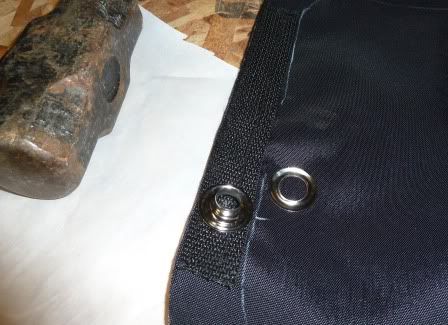
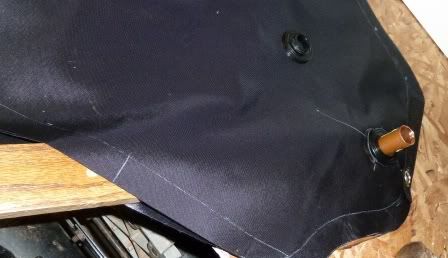
Any places that will get a grommet need to get reinforced with webbing. Cut some webbing strips, heat seal them with a lighter, then stitch them to the wing.
Add grommets where needed.
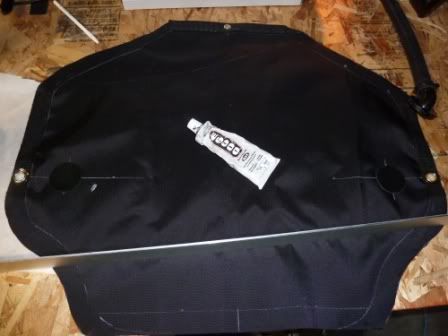
Where the dump valve and elbow will be fitted to the wing rubber washers need to be added. I cut 2 disks from 1/16” gasket material. Glue them to the wing with E6000 or other similar adhesive.
Add some weight and let the adhesive dry.
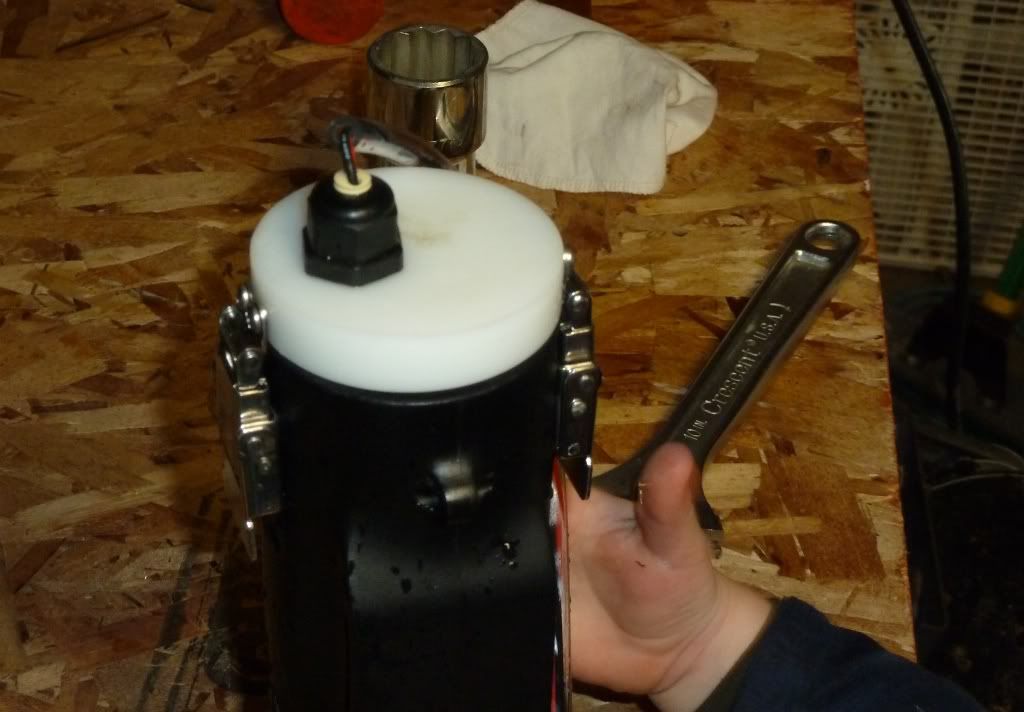
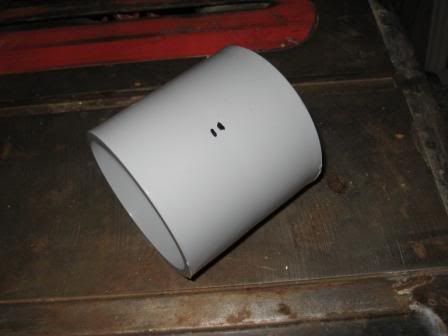
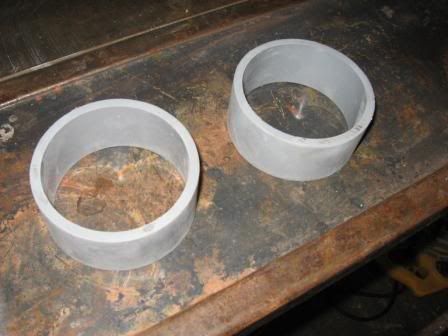
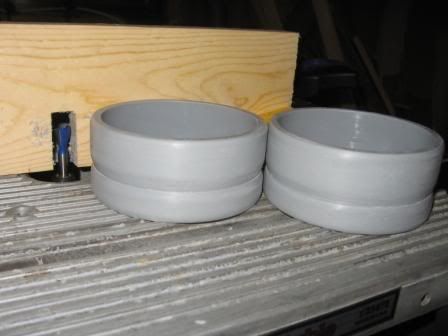
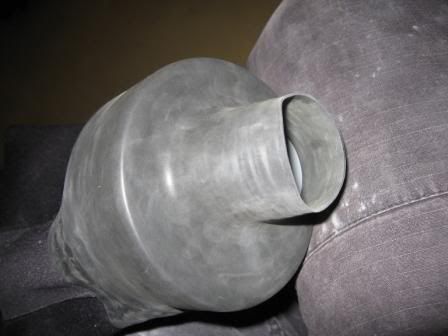
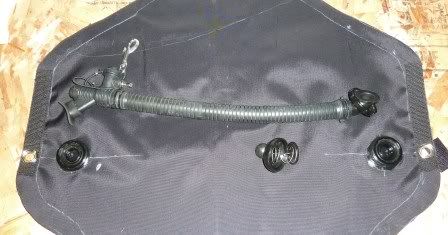
When dry, insert a piece of wood through the open bottom of the wing. Use a 1” punch to make the hole. (Used a sharpened 1” pipe coupling) The bladder nut helps get it centered.
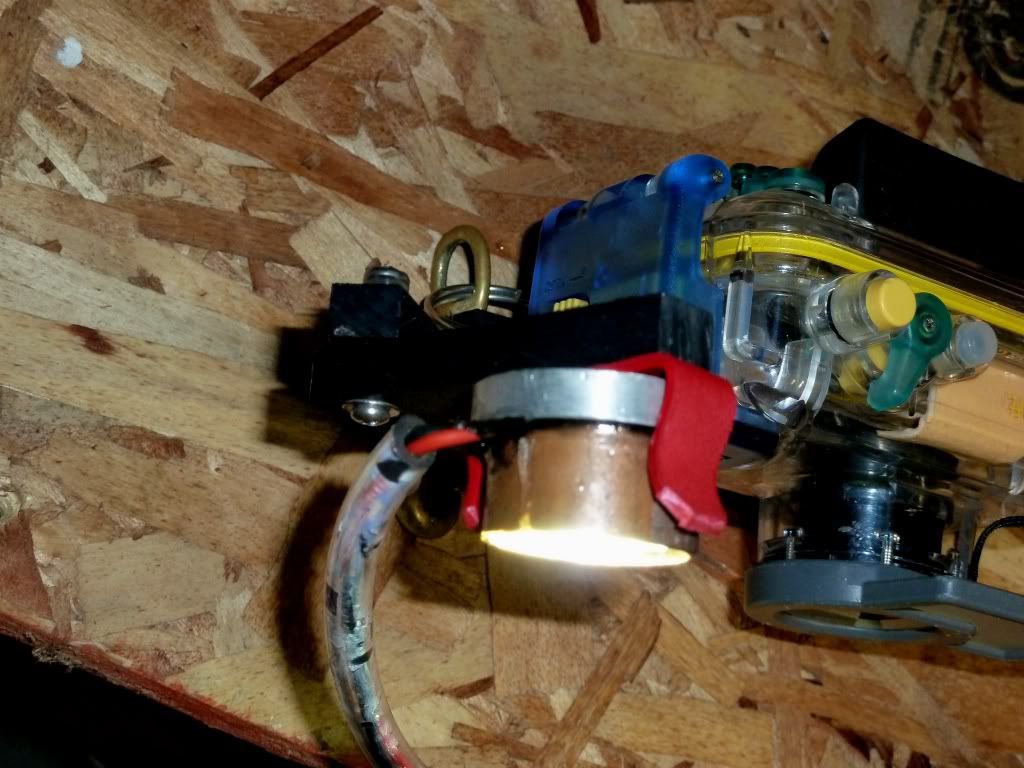
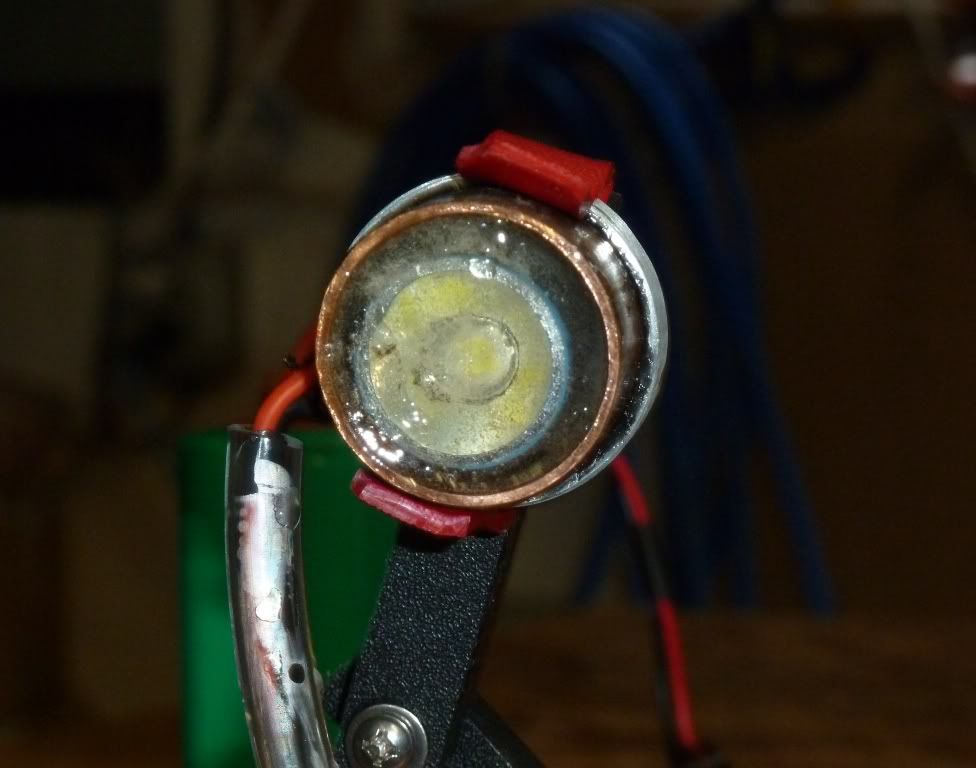
Add the bladder fittings
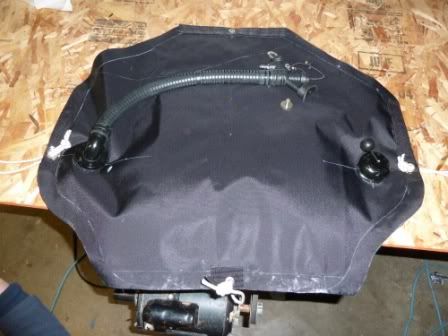
At this point seal the bottom edge that was left open earlier. Hook up the inflator and dump valve, and inflate to look for any areas on the bottom edge that did not get properly sealed. Seal any problem areas and add the needed webbing and grommet.
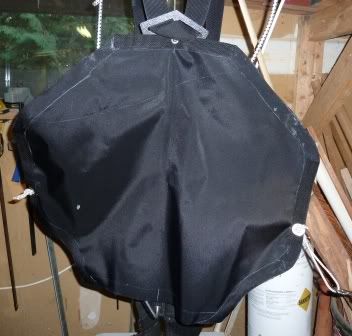
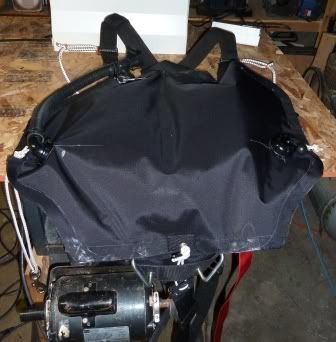
Fit the wing to the harness.
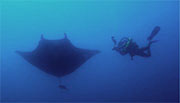
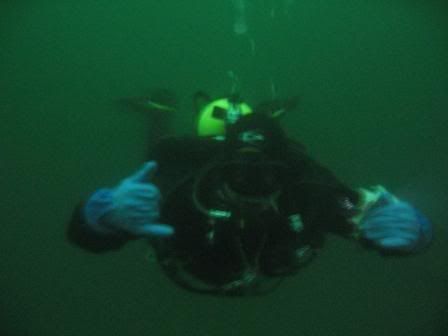
I dove the wing and it worked quite well, but it was pretty dark, so none of the video shows the results too well. When I get some good daylight video I’ll post it. Only thing I would change right now is noted above that I made my baffles too long, so it can puff up a bit too much in the center. I’ll have to figure out a way to fix that.