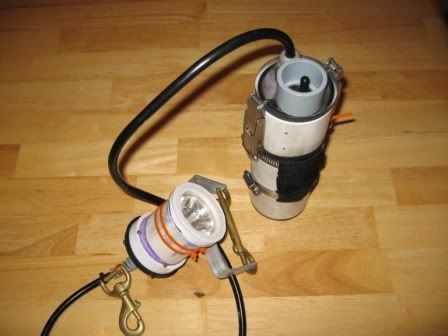
Some of you guys who've dove with me know I like to DIY some gear... wetsuit pockets, camband pockets, spring straps, and the infamous ugly but effective canlight 1.0. -
It all PVC and acrylic with a 20watt IR halogen bulb. It's not as bright as a 10watt HID, but it casts a good beam and with an 8degree spot it's decent for signalling.
Anyway, the real reason for the post was that Friday night I finished canlight 2.0.
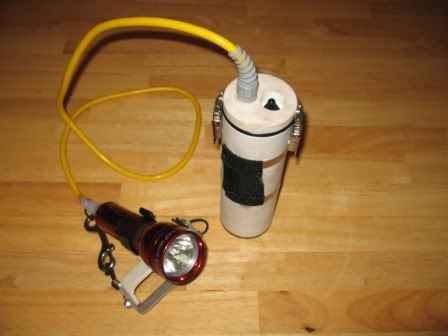
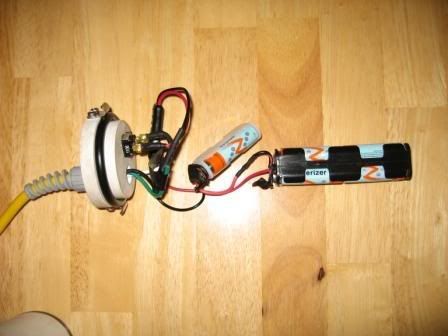
Upgraded cable glands, canister latches, an nicer switch arrangement, and a much better head/goodman handle. Since it's an all metal/glass head I can put a better bulb in it, this time a 30watt IR halogen.
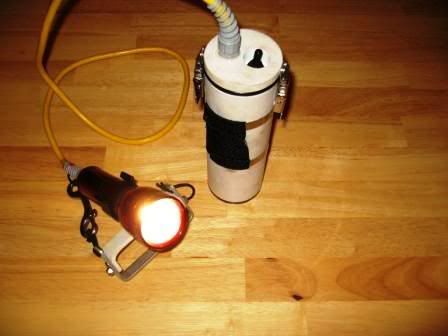
The battery arrangement is the same 12 volts of 2.7Ah AA's that I used in 1.0. With the 30watt IR bulb it gives me ~45minutes of burn time. This is one area I need to work on upgrading. I'd like a nice 5ah pack, to give me over an hour. With an upgraded pack I may be brave enough to try a 65 watt IR bulb, producing the same lumens as a 18watt HID....
I survived the pressure pot test to ~90 fsw, and went to 82fsw on saturday. Operated flawlessly.
One thing I've learned about halogen is that it tends to wash out in sunlight more, so on those nice sunny dives at EUP it's kind of useless for signaling. But it's a trade off, because I like the color of the light at depth much better than an HID or LED.
Anybody else have some DIY projects to share?
Jake